|
IF YOU LIKE,
and use any of my projects or libraries, and would like to encourage further development you can donate through PayPal here:
Rather donate hardware directly? Then click here.
|

|
|
|
|
|
Project: Door Sign
|
|
I have been in need of a proper door sign for years now, but I was never able to find one I really liked. After a few years I thought I could make my own.
I have always been a fan of brushed aluminum, so my first thought was to make a simple sign by either sandblasting or etching one. As I don't have access to sandblasting-equipment, and I wasn't really ready to start playing with acid I went back to thinking.
Then the thought occured: PMMA, or Plexiglas, can easily be made into a nice sign. But I didn't want a boring single color. I wanted something that would change colors at random.
As it had been some years since I last played around with electronics I started to search for some nice circuits I could "steal". This is what led me to microcontrollers.
After nearly two years I have a finished door sign. I know this is a very long time for something as simple as this, but it involved a few tasks I had never done before, so I wanted to take my time and do it properly.
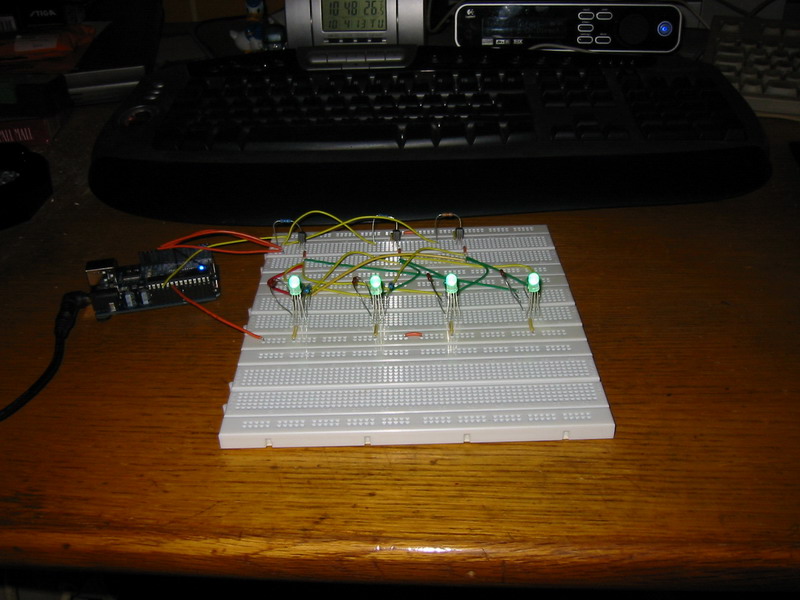
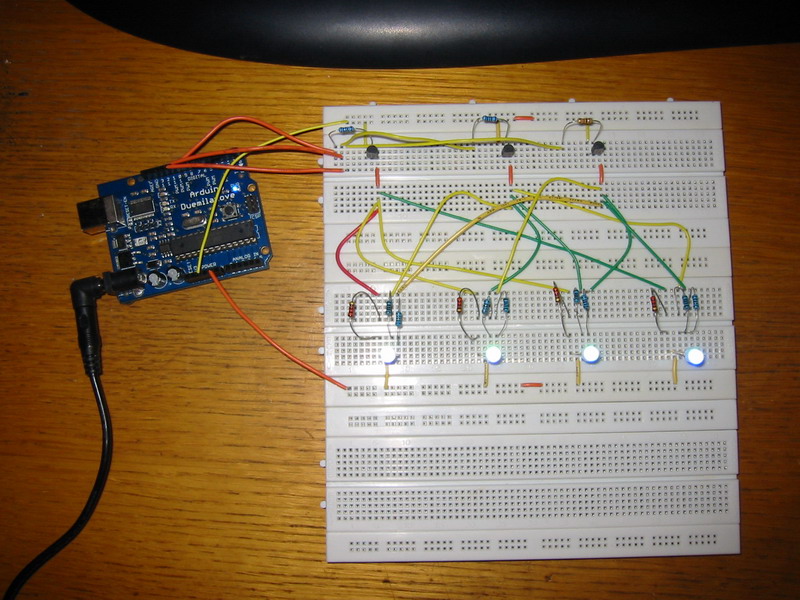
The first microcontrollers I found was the PIC16-series from Microchip. They had something called PWM that suited my needs perfectly. I could not find a PIC16-series MCU that fit my requirements. This led me to the Arduino. I figured that it had to be a nice prototyping platform for my project.
I bought one, and soon had a working prototype with some nice crossfading RGB-leds.
After seeing that the program worked like I was hoping it would I had to start doing things I knew nothing about. The first of these were making the PMMA plate.
I went out and bought a couple of PMMA sheets 150x200x8mm. I split one in half so the final size would be 100x150mm. The easy part was done.
I then drilled two 5mm holes on each of the long sides for the LEDs. I figured four LEDs ought to be enough.
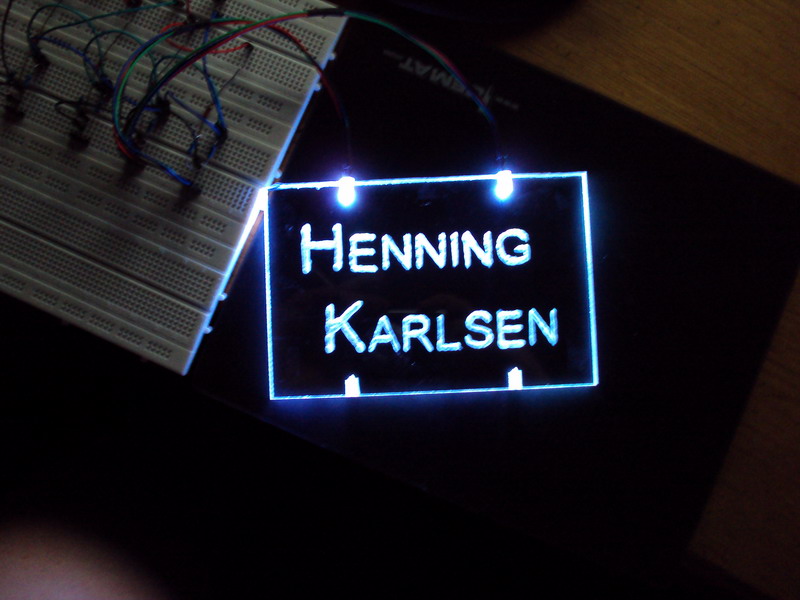
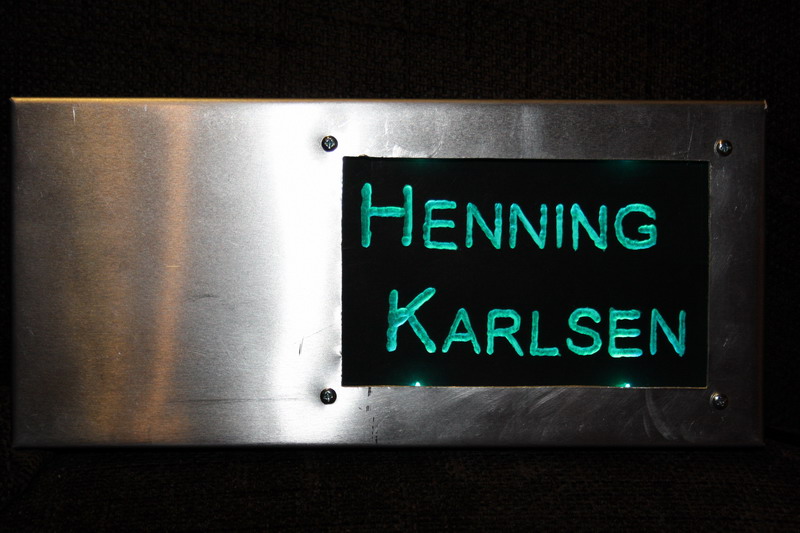
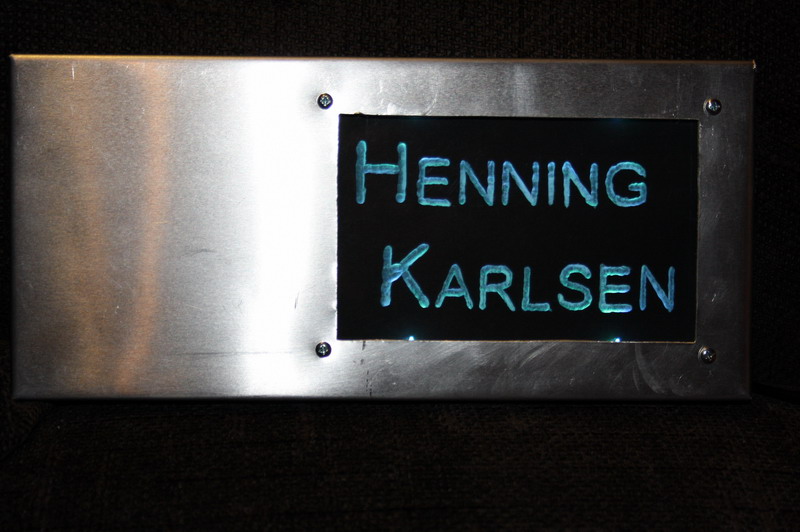
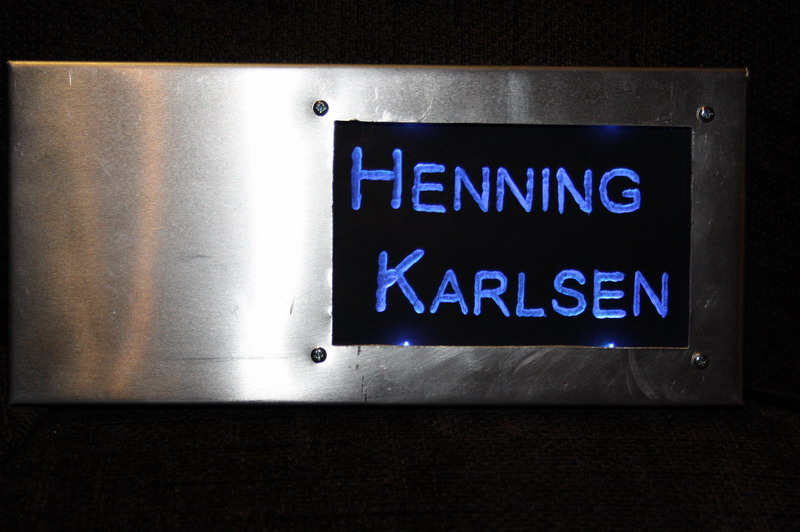
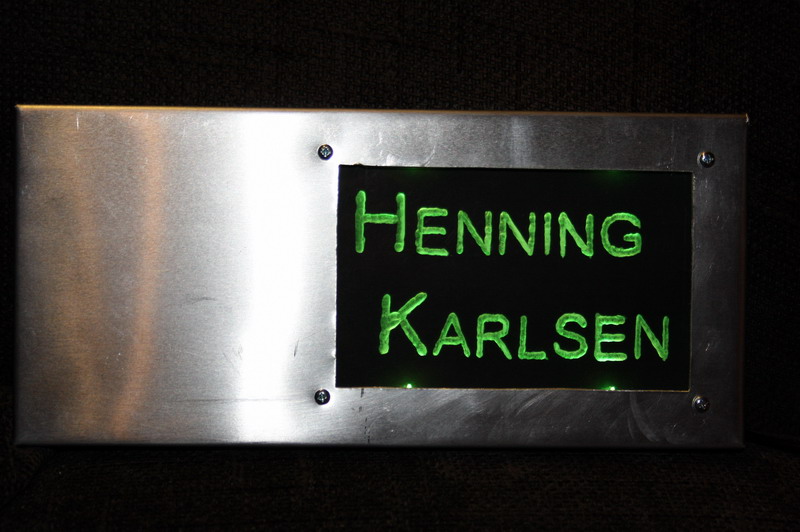
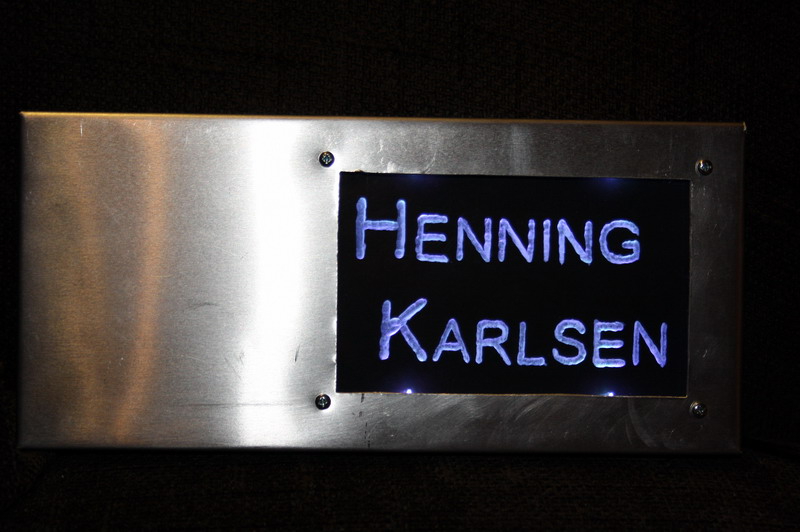
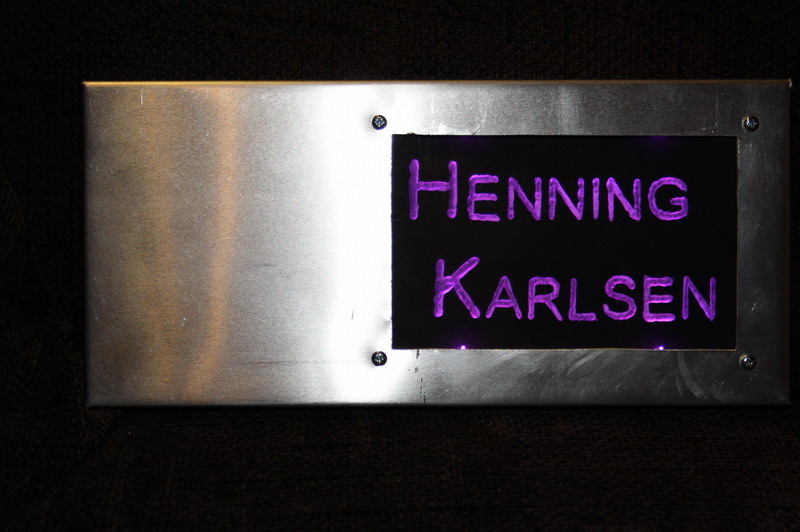
After that I made a template for the text in MS Word, and printed it mirrored. I taped the template to the PMMA plate, and started burring from the back. No (big) mistakes later the PMMA-part was ready. To stop the wall behind the sign being visible I glued on some black paper to the back of the PMMA.
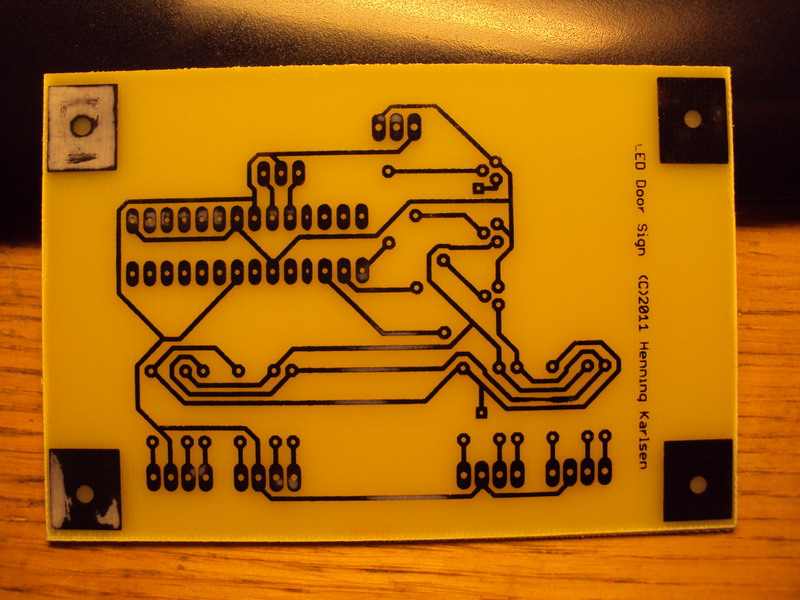
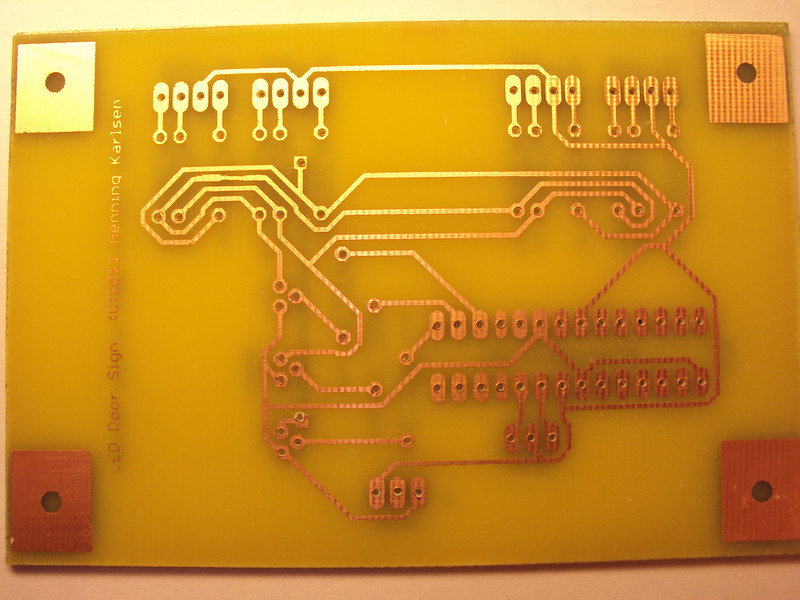
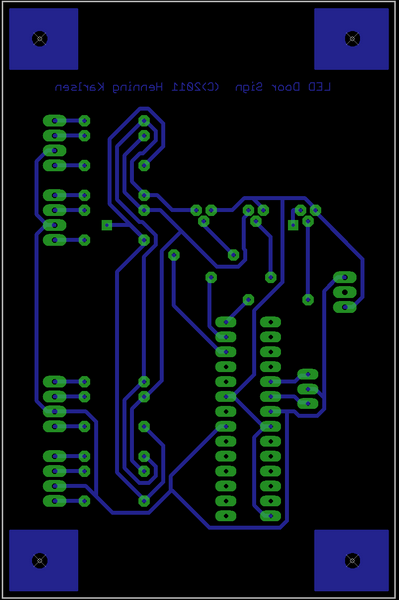
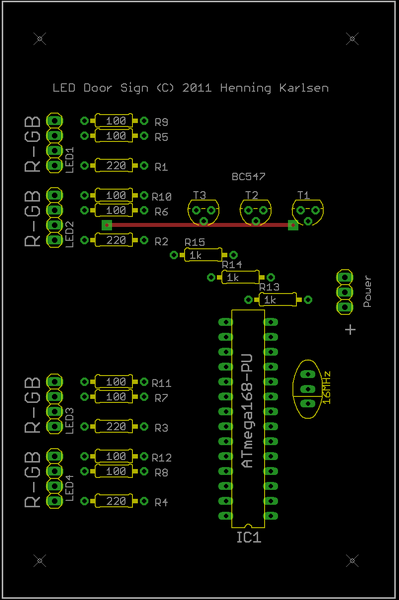
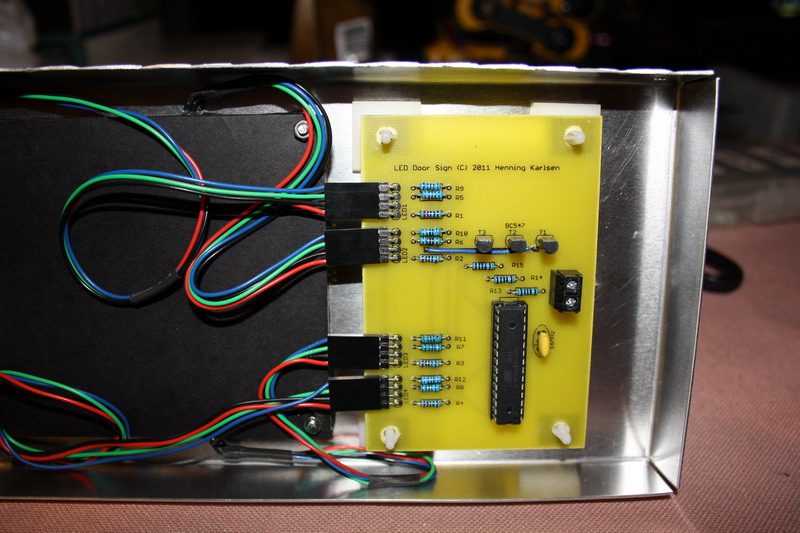
I quickly soldered wires to some RGB LEDs, and attached connectors. Then I had to make the PCB. This was something I hadn't done since I was in school (~20 years ago).
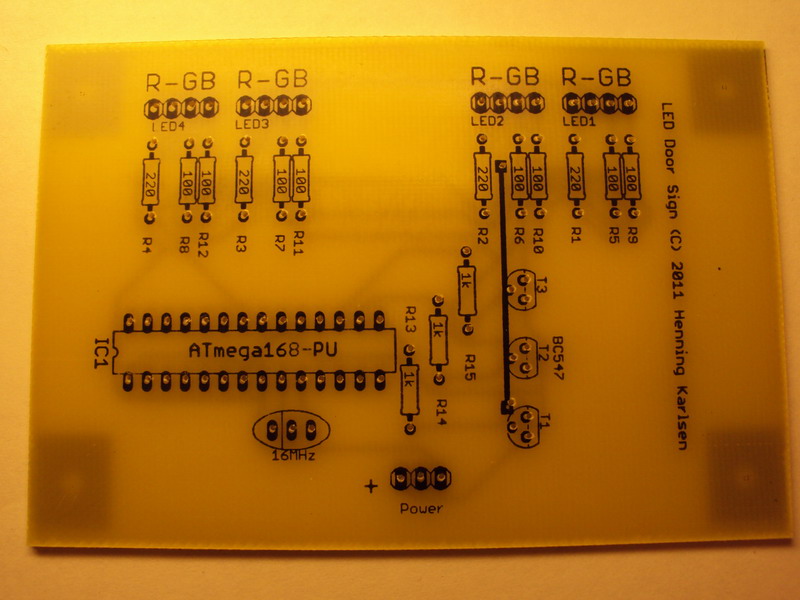
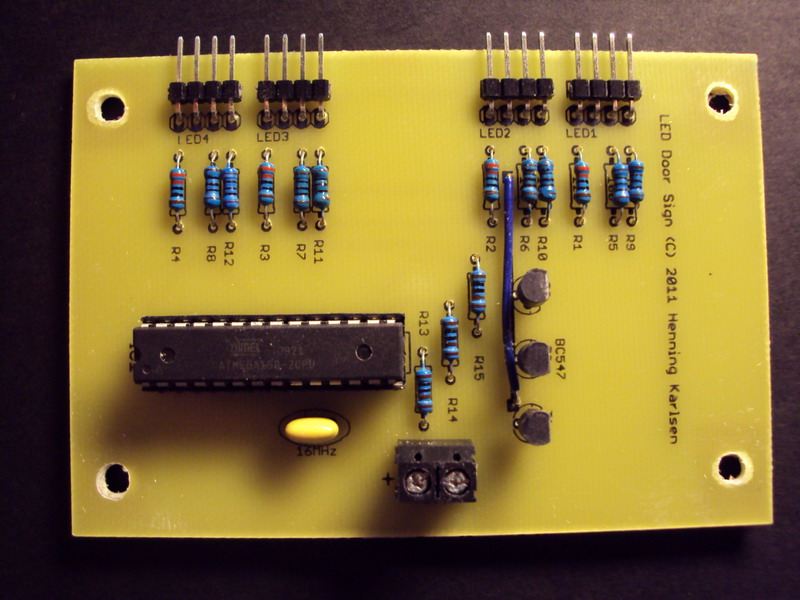
After some trial and error I ended up with a board that looked like it should work. I quickly soldered on the components, and fired it up.
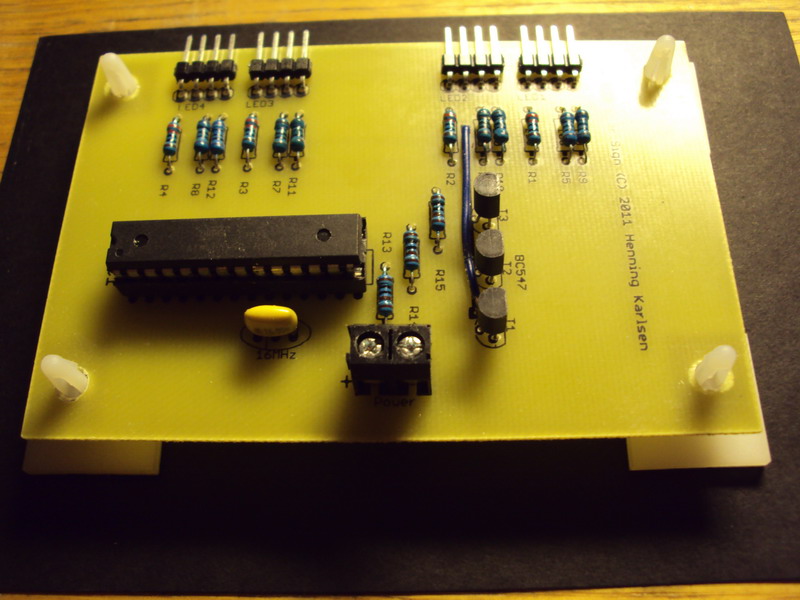
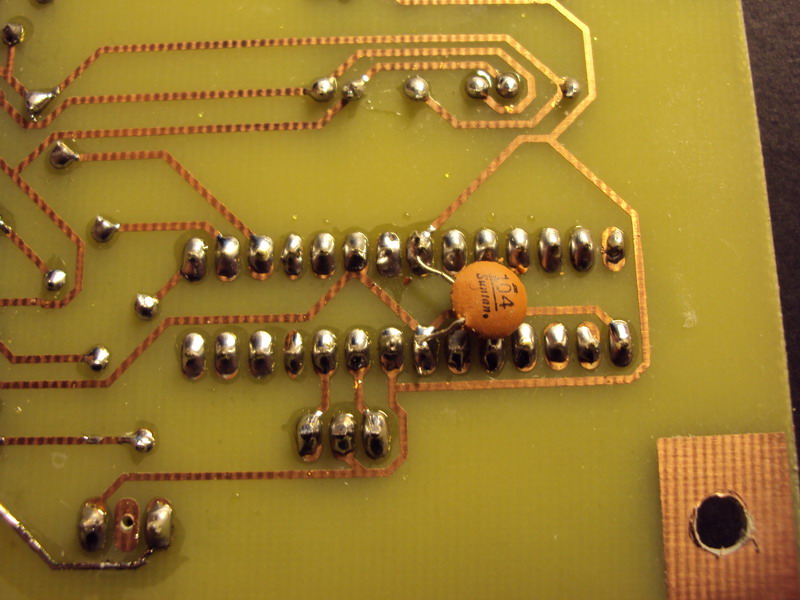
When I connected that power I quickly found out that there were something wrong. It would work for a short while, then suddenly stop. The time before it stopped seemed to vary with the number of LEDs I had attached.
After some headscratching and googling I figured I should try to add a capacitor between Vcc and GND. It was quickly soldered to the bottom of the PCB, and it did the trick.
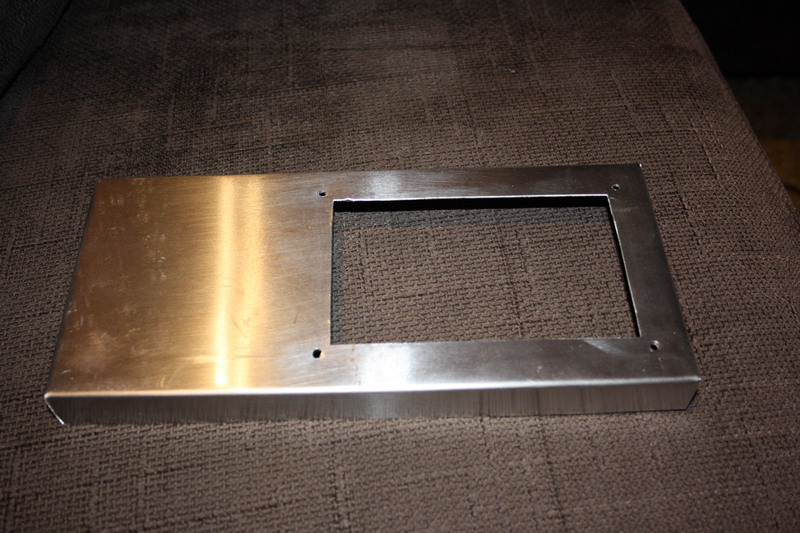
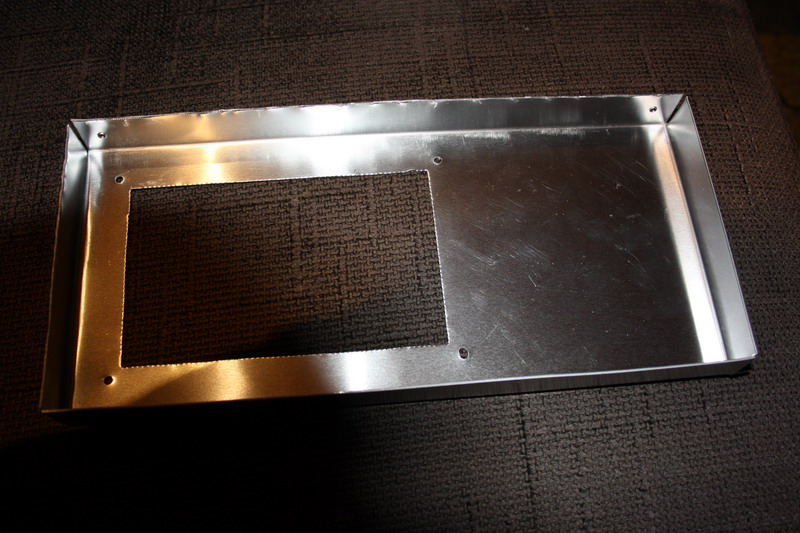
All that was remaining was the metal-work. This was the task I had dreaded the most as I have never done anything like it before, but after a couple of hours of cutting and bending I actually had a finished frame.
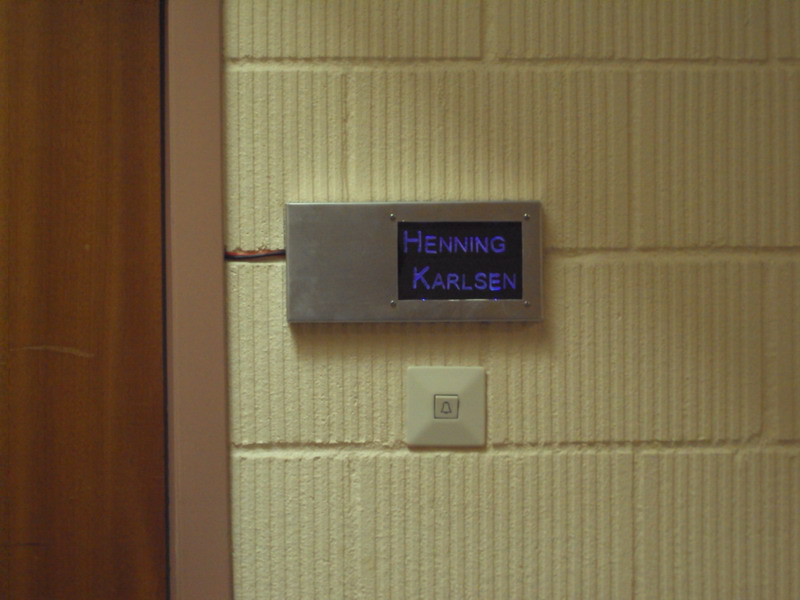
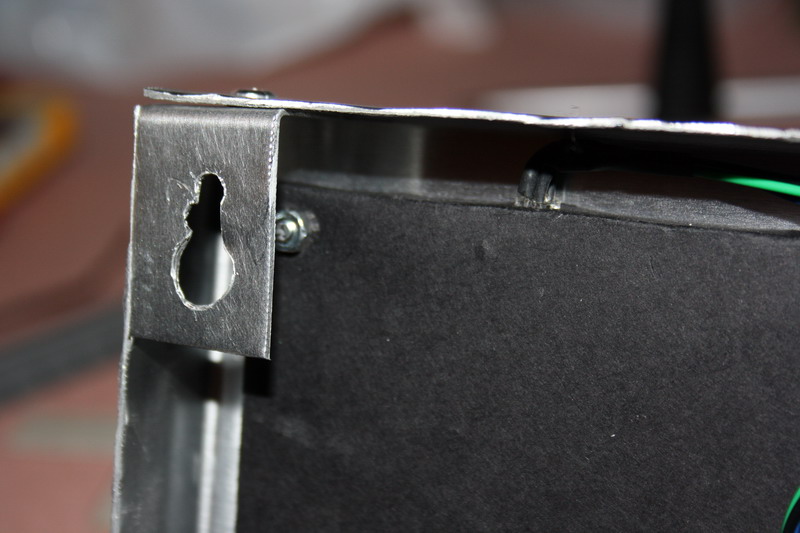
Everything was assembled, and some brackets was attached. I also reprogrammed it to slow down the crossfading. It now takes 5 minutes to fade from one color to the next.
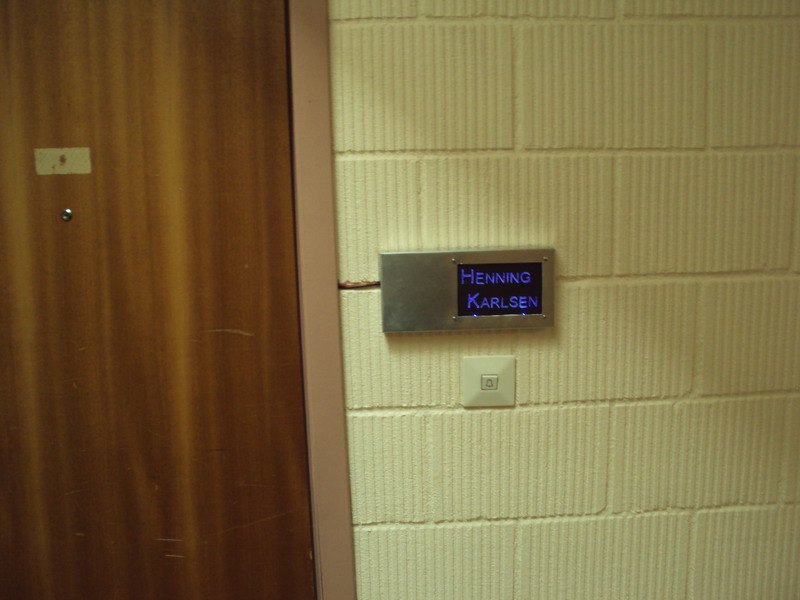
It was finally ready to be hung in its place outside my door.
Bill of materials:
Source code:
Download project files: Doorsign.zip (Filesize is 94.18 KiB. Downloaded 1465 times)
|
|
|
|